 The first image will be the front of the piece. This design will be pierced out of the die-formed metal. The second image will be the back. I want to etch the design onto the metal before forming it, just to add some interest to the back of the final piece.
Tuesday, September 28, 2010
swirls!
I think I finally figured out a swirl design for my piece that I am really happy with. It is a design that's been in my head for a while, so it feels good to get it on paper. The first image will be the front of the piece. This design will be pierced out of the die-formed metal. The second image will be the back. I want to etch the design onto the metal before forming it, just to add some interest to the back of the final piece.
 The first image will be the front of the piece. This design will be pierced out of the die-formed metal. The second image will be the back. I want to etch the design onto the metal before forming it, just to add some interest to the back of the final piece.
Thursday, September 23, 2010
"Container" Design Review
I was inspired for this project by ornate picture frames and antique bird cages. Both of these things not only contain something, but they are also meant to display it or show it off.


So that's what I wanted to do: show something off inside of this birdcage shape with picture frame-inspired swirl shapes pierced out of the front.
Then I came to the other aspect of this project: What is it containing?
Since this piece is meant to show something off, I wanted to create something that a person could wear in a place as to show off whatever is inside, whenever they wanted. It would be a pendant and would contain whatever small mementos or pictures are important to that person.
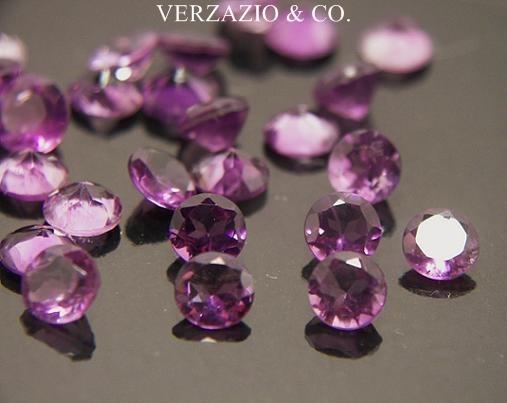
Because I will be the one using this piece, I wanted to incorporate some of the small beads and charms that my Grandmom has given me over the years. As I was looking at some prospective items, I realized that most of them were jewelry or had some kind of gemstone embellishments. My Grandmom always gives me amethyst jewelry, because it is my birthstone. I thought a great way to commemorate that instead of putting the actual jewelry or charms inside, would be to put individual, loose amethyst gemstones in the piece.

A new die
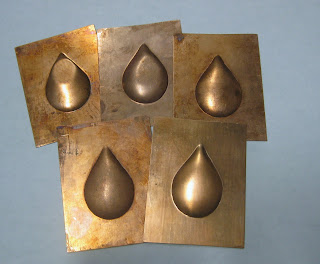
After I had soldered forms made with my first die, I decided to make a new die for the next assignment, making 8 new forms.
I knew I wanted to work with a much simpler shape, since the first one had been a little complicated to get to actually solder together.

 Surprisingly, I had a lot of trouble with this die. Almost every time I tried to bump up the psi the form would pop. I tried filing the edges, to no avail. I realized it was just going to take a lot longer than I expected to get the depth that I wanted (and that I knew Jan wanted).

 all of the broken forms =(
But, after I slowed things down and finally got my 8 forms, I cut them out, glued them together, and then proceeded to cut them apart (eek!)
This part ended up being a lot harder than I expected because as I was cutting into the pieces, the 2 sides would come apart.
When I had all kinds of different shapes, I capped them with extra metal and they became these new forms which were really pretty cool.

I knew I wanted to work with a much simpler shape, since the first one had been a little complicated to get to actually solder together.

 Surprisingly, I had a lot of trouble with this die. Almost every time I tried to bump up the psi the form would pop. I tried filing the edges, to no avail. I realized it was just going to take a lot longer than I expected to get the depth that I wanted (and that I knew Jan wanted).
 all of the broken forms =(
But, after I slowed things down and finally got my 8 forms, I cut them out, glued them together, and then proceeded to cut them apart (eek!)
This part ended up being a lot harder than I expected because as I was cutting into the pieces, the 2 sides would come apart.
When I had all kinds of different shapes, I capped them with extra metal and they became these new forms which were really pretty cool.

My first hydraulic die-forming experience
Using the hydraulic press was so fun to learn and creating my first die and forming it was a great experience.
For my first design I used the shape that I had been playing around with in my sketches. After forming them (and taking copious notes), I cut them out and soldered 2 together, once with a flange and once without.
When I had the final pieces in my hand and continued looking at them, I decided they were too "Christmas ornament" and changed my design.
Jewelry 3 First Project!
I am really excited for this project and am happy with the direction that mine is heading.
The Project is all about containers: different types, and what they contain. To start, I made a bubble map of different kinds of containers and different things that the containers could contain.

From there, I went around and took pictures of all sorts of different containers. They can be found here.
For the other parts of our Creative Caffeine we had to gather objects and make our own objects.
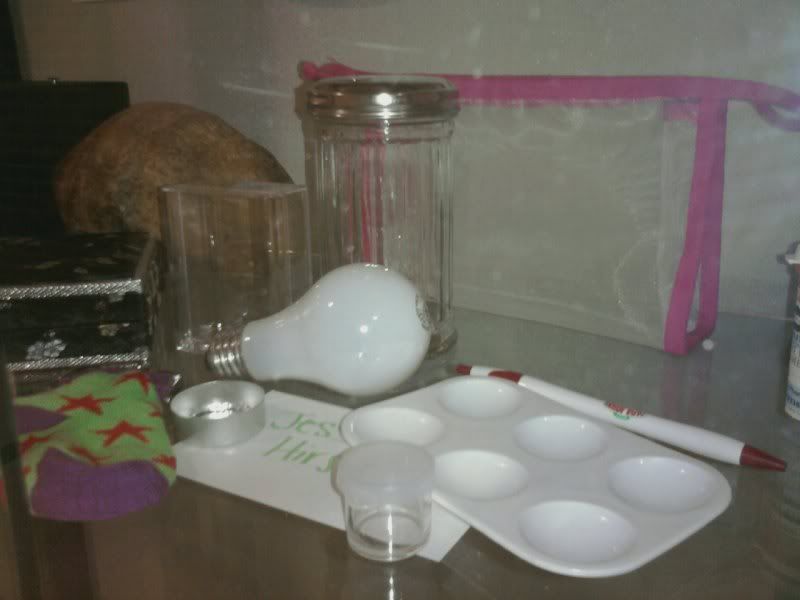
I gathered things like a lightbulb, a small picture frame, and a mesh bag. I collected things that I thought were useful and that I actually kept things in.

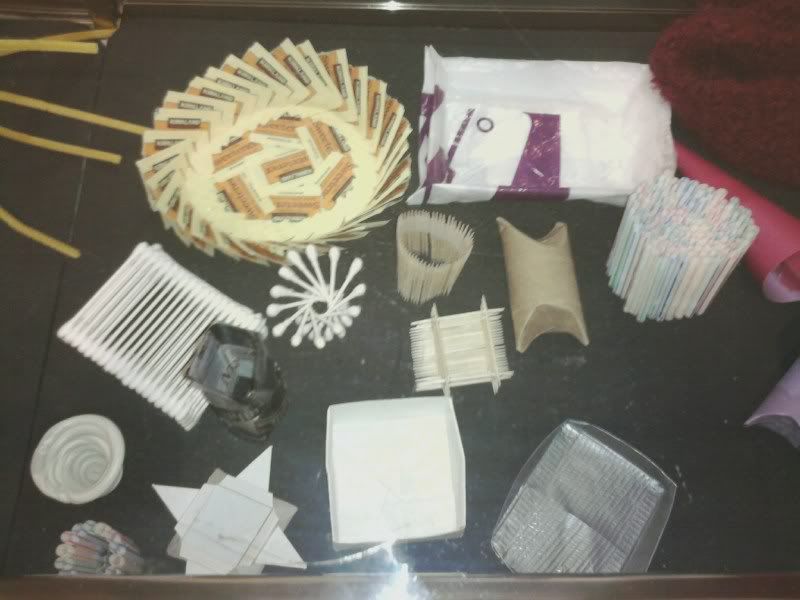
The handmade containers were a little more challenging. I used Q-tips to make 2 different containers, one a box and the other a cone-like shape. Other materials that i used were toothpicks, duct tape, magazine paper, sugar packets, and straws. I think these all came out well and it was a fun exercise.

After I had seen and made so many wonderful containers, I started randomly sketching and these are the first things that I came up with.

 This is where I realized that I was inspired by ornate picture frames and antique-looking birdcages, so I decided to go with it!
The Project is all about containers: different types, and what they contain. To start, I made a bubble map of different kinds of containers and different things that the containers could contain.

From there, I went around and took pictures of all sorts of different containers. They can be found here.
For the other parts of our Creative Caffeine we had to gather objects and make our own objects.
I gathered things like a lightbulb, a small picture frame, and a mesh bag. I collected things that I thought were useful and that I actually kept things in.

The handmade containers were a little more challenging. I used Q-tips to make 2 different containers, one a box and the other a cone-like shape. Other materials that i used were toothpicks, duct tape, magazine paper, sugar packets, and straws. I think these all came out well and it was a fun exercise.

After I had seen and made so many wonderful containers, I started randomly sketching and these are the first things that I came up with.

 This is where I realized that I was inspired by ornate picture frames and antique-looking birdcages, so I decided to go with it!
Subscribe to:
Comments (Atom)


