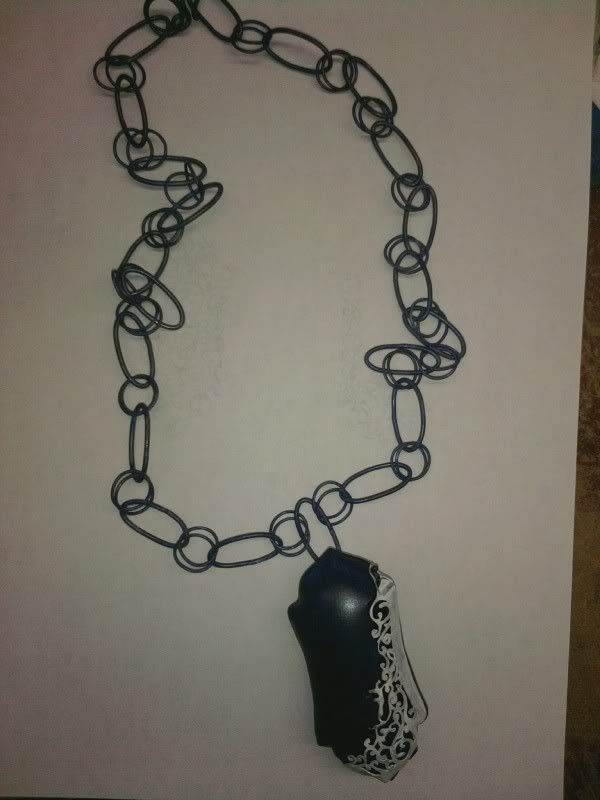
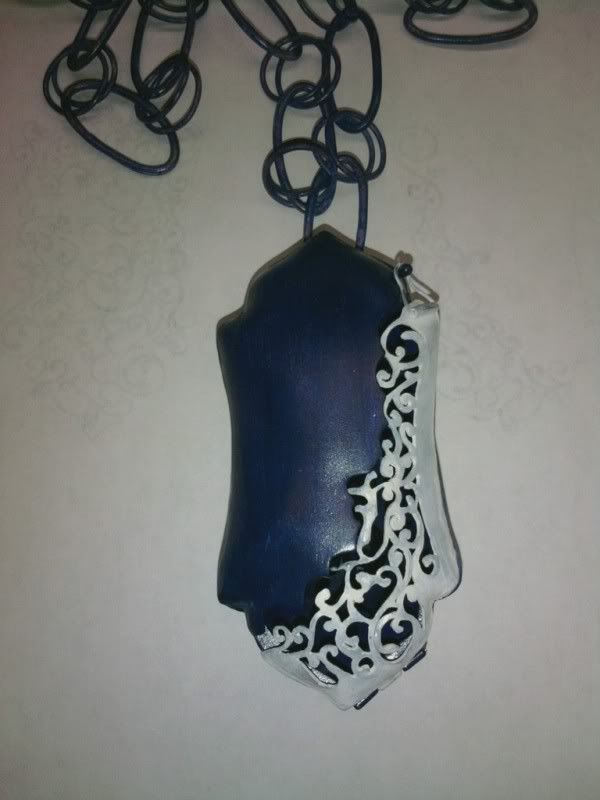
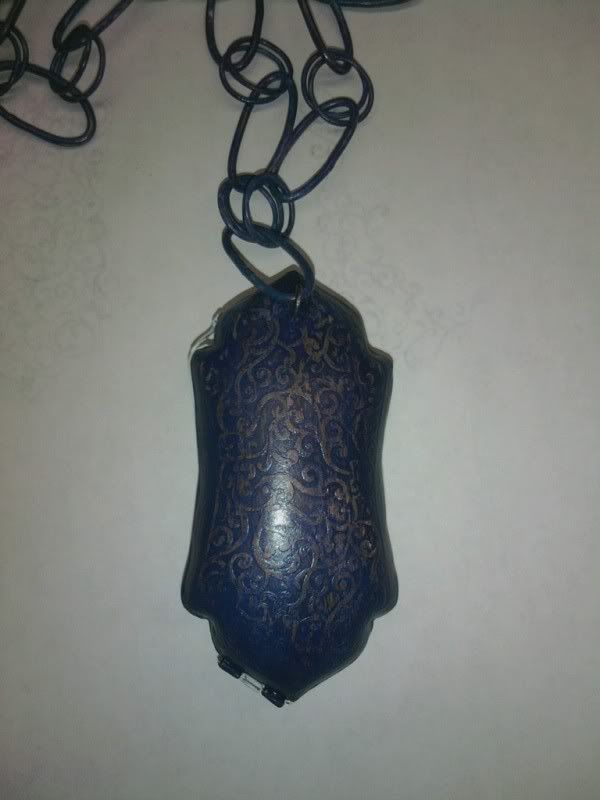
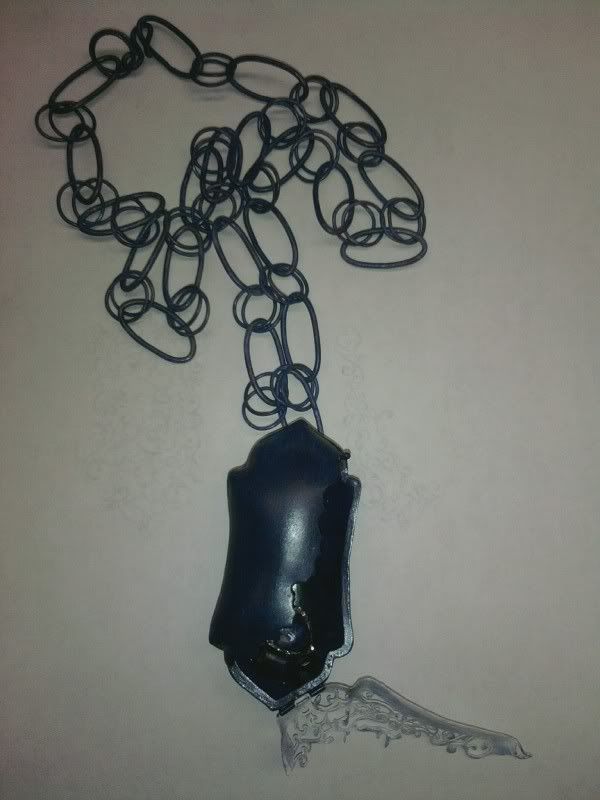
Friday, October 29, 2010
Crowdsourcing
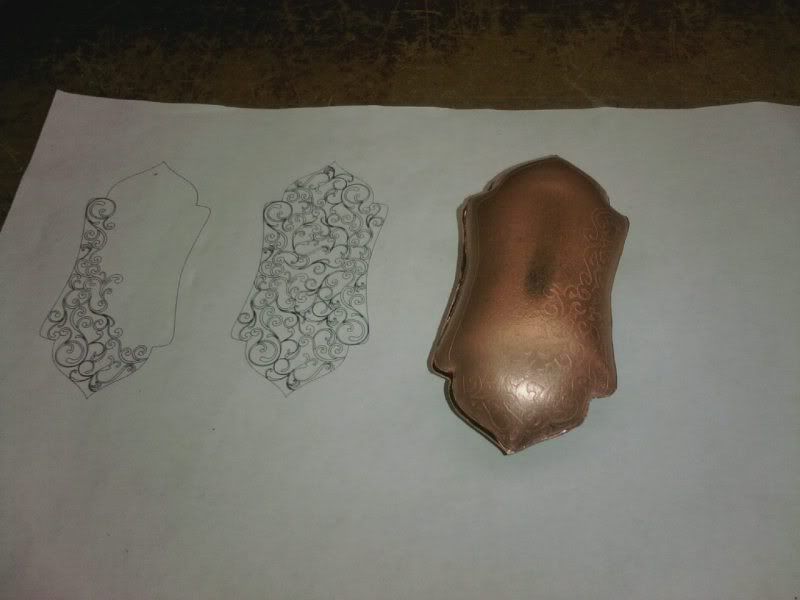
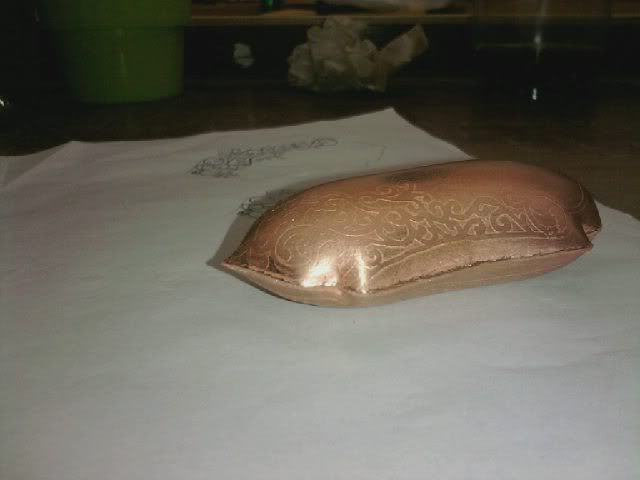
-How do you feel about the "pillow" form?
-What could be done to the shape so that it no longer resembled a pillow?
-What format would you like to see this piece in: a pendant, or a small charm that could be kept inside a jewelry box?
Again, all feedback is welcome and appreciated. Thank You.
Tuesday, October 26, 2010
Project 1: Part 1 After Action Review
I really enjoyed this portion of the project. I haven’t had an assignment yet that really used everything that I had learned about working with metal, so it was nice to incorporate many different techniques into one piece. I feel that learning how to execute hinges and clasps in a piece will be an invaluable lesson that I will definitely use in the future. If I were to go back and do it all again, naturally, there are some things that I would have done differently.
First, I would have not stressed so much about the etching. I would have prepared a few more pieces of metal to actually be placed in the etching solution, because once I took them out some had air bubbles and portions that did not react properly. This left me with only one front piece and two back pieces for forming. Once I was forming the pieces, I realized that somehow, while I was printing the designs onto the PNP blue paper, they were smaller than my die. This was made very clear and I wanted to cry right there. I decided that it wasn’t as big a deal as I was making it and pressed on... literally.
I had chased at least 10 forms for different samples, which all went fine, but somehow these two forms were the hardest to get flat. Once I did, I cut them out and finally saw a 3-D version of my design, which fit together perfectly. It was nice to finally see it, but I still had a lot of work to do. I cut and soldered an internal frame for the back piece, which was as challenging as I had expected, but I got it done.
Then came time to pierce out the very intricate filigree design for the front. This took me a lot longer than I had anticipated, and was a lot harder to do since the piece had already been formed. I have never cut metal that wasn’t completely flat, so this was an experience. I used a very small blade and had to go slow because the swirls would bend up and down with the saw blade.
After about three hours of sawing, I prepared the components for the hinge. Filing the cradles on my 3-D form seemed to be much easier than on the flat sheets of metal. Getting the knuckles to actually solder to the piece turned out to be a different story. I spent all of one day trying to get them to stick, but they were not cooperating. First I tried laying the pieces flat and setting the knuckles between them, like I had done for the sample. After five or six tries of no luck, I glued the pieces, stood them up in between two bricks, and set the knuckles on top. I tried this a few times then decided to solder each side separately. This took a few tries on each side but I finally got it. I think my problem was not heating the whole piece evenly, which seems silly for all the time that I wasted on it. But, once I got that to work everything else seemed like a piece of cake. Somewhere in the process of soldering the hinge, I melted some of the swirls that I had so painstakingly pierced out. If I had an extra day and an extra sheet of metal etched, I would have made a new piece, but I had to move forward, which still bothers me.
I had the clasp to do next, which at this point I still didn’t know how I wanted to make it. I threw around a couple of different designs in my head, incorporating the swirls and really making it a design element. In the end, I didn’t want it taking away from the intricacy of the swirls or making the front of the piece too much. I attached the wire and soldered it together (which took a few tries because it melted the first couple of times) and I just bent the sides in to catch the ball. I felt that the shape made by the wire reflected the shape of the top of the pendant, which is why I didn’t worry too much about changing it.
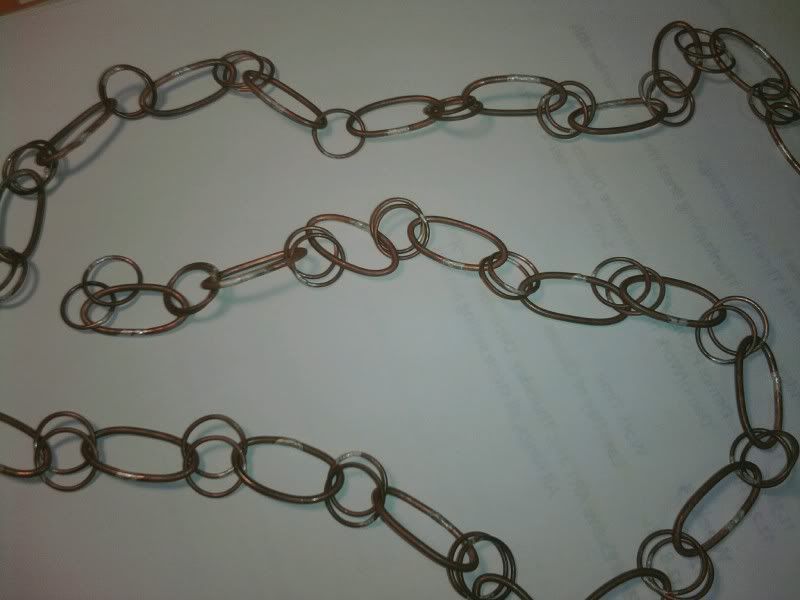
The chain was an element that I really had trouble deciding what I wanted it to be. I knew that I wanted to play with the juxtaposition of delicate intricacy and solid metal in the pendant, but I didn’t know how I wanted to achieve that. I decided to go with two thin links, connected by one thicker link. I made the larger links ovals to make it more interesting than just circles and it really changed the whole look of the chain, which I liked. I still don’t know if I love the chain with this pendant, but I like the pieces separately. I think the purple patina brings it together but it’s still not totally cohesive.
There are definitely a few little imperfections that bother me with this piece, but I am incredibly happy with that I was able to accomplish with never done die forming, etching, hinges, or clasps.
Thursday, October 21, 2010
SUCCESS!
The next step for this project is crowd-sourcing and gaining information on what other people think about the design and concept. Any feedback or additional ideas would be greatly appreciated, whether positive or negative. The project information, as well as my design review and initial stages of the process are documented in earlier postings on this blog for more information.
Because I will be replicating this design to work in 3-D modeling and Injection molding, criticisms or ideas on how to change the design to fit better with these two processes are welcome.
Here are some final pictures:
